Shading is the trick that makes a colored character look round and real instead of flat. It sounds advanced, but kids as young as six can learn the basics.
Step 1: Pick where the light comes from
Draw a little sun in the corner of the page. That’s the light source. Sides facing the sun are lighter. Sides facing away are darker.
Step 2: Color everything lightly
Color the whole shape with light pressure.
Step 3: Add darker color on the shadow side
Two ways:
- Press harder with the same color on the side away from the sun.
- Use a darker shade of the same color, like dark green over light green.
Step 4: Blend the middle
Color over the area where light and dark meet with medium pressure so it changes gradually. See blending colors for kids.
Step 5: Add a cast shadow
Color a small gray or dark oval under the character’s feet. Suddenly it’s standing on the ground.
Great pages to practice
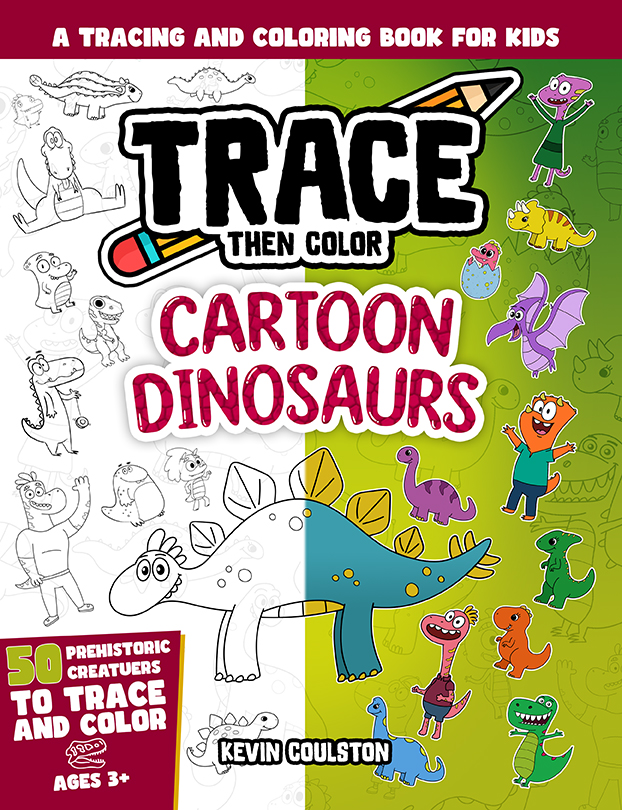
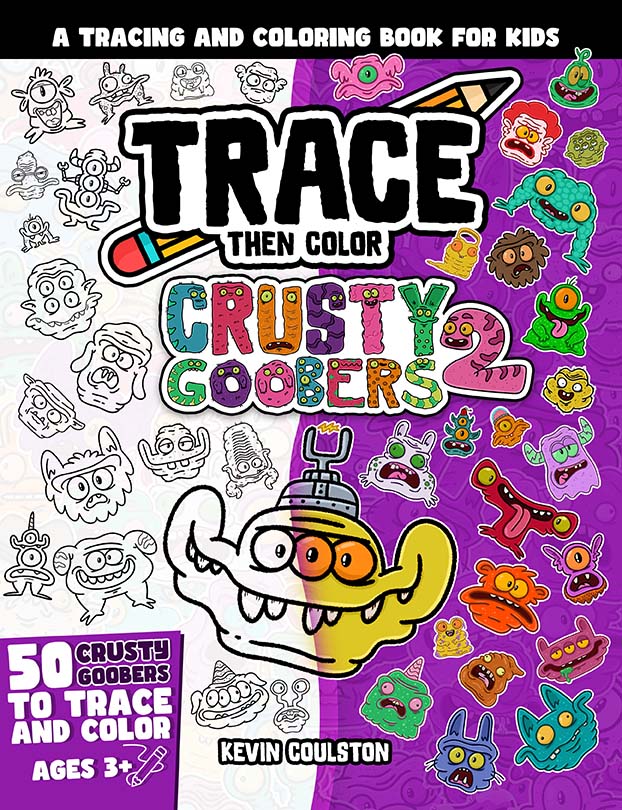
- Round dinosaur bodies in Trace Then Color: Cartoon Dinosaurs
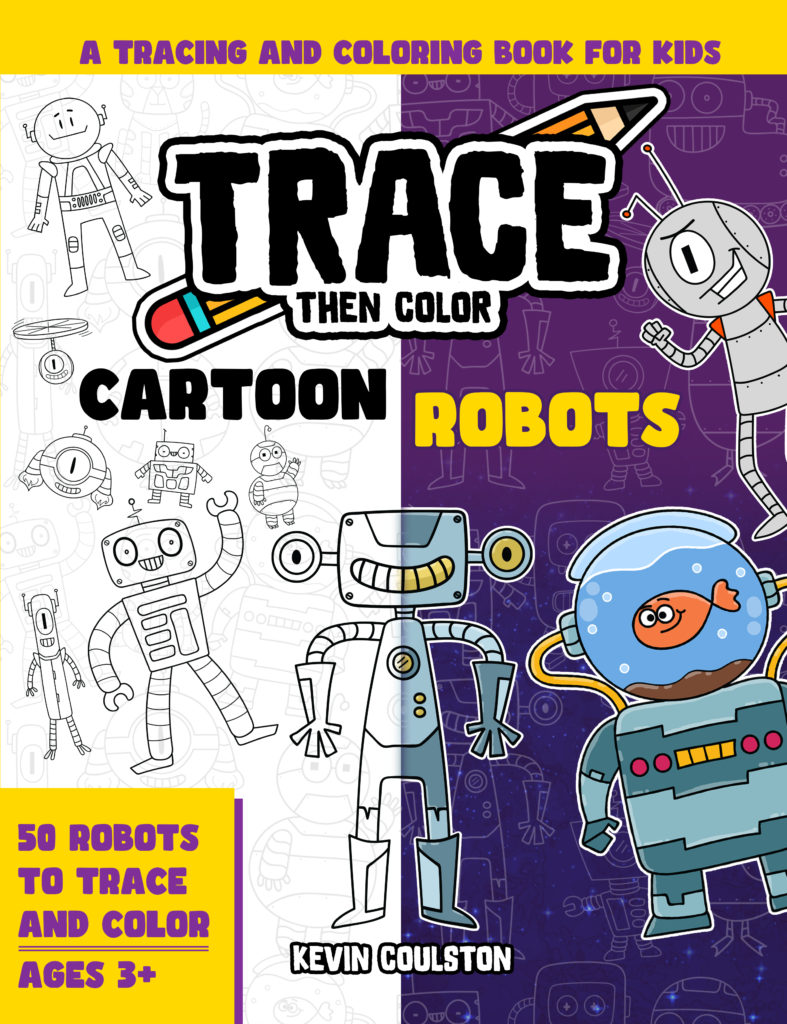
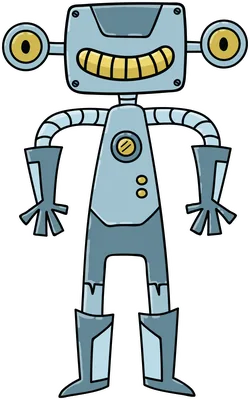
- Metal robots in Trace Then Color: Cartoon Robots, where shading plus highlights looks shiny. See coloring fur, scales and metal.
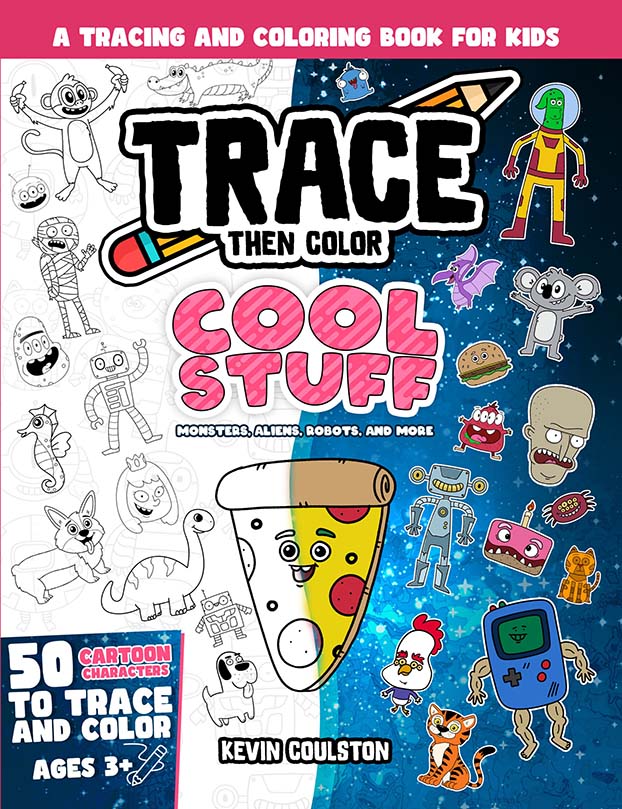
- Balls, planets and round objects in Trace Then Color: Cool Stuff
Colored pencils are the easiest tool for shading. Crayons work too. Markers are harder, but a darker marker on one side still works.
Questions parents ask
What age can kids learn shading?
Simple shading works from about age 6. Younger kids may enjoy the cast shadow trick.
Should I use black for shadows?
Black can look muddy. A darker shade of the same color, or a bit of purple or blue, usually looks better.
My child shades everywhere. Is that wrong?
Not wrong. Remind them of the sun and let them experiment.
About Kevin Coulston
Kevin Coulston is a cartoonist and member of the National Cartoonists Society who has written and illustrated more than 100 drawing, tracing and coloring books for kids, including the Trace Then Color series. Meet Kevin or browse all his books on FirstArtBooks.com.